
When spring arrives, it’s the perfect time to give your plants a new space for growth and revitalize their soil with repotting. In this article, discover the key steps to succeed in this essential operation, as well as tips to help your plants flourish in their new home.
Why choose repotting in the spring?
Spring is a season conducive to repotting as it marks the awakening of plants after the winter dormancy period. It is a time when temperatures are milder and sunshine increases, which stimulates root growth and facilitates the absorption of nutrients provided by the new potting soil. Moreover, when you perform a repotting at the beginning of the season, you give your plant enough time to adapt to its new environment before the hotter and more stressful summer period for its roots.
Step 1: Choosing the right pot for transplantation
Pot Size
Before starting the repotting, it is essential to choose a pot suited to the size and needs of your plant. To do this, keep in mind that the golden rule is to opt for a pot slightly wider and deeper than the original one. This increased space will allow the roots to spread and access the nutrients they need to grow and stay healthy. However, avoid choosing a container too large, as the excess potting soil could stay moist for too long and could promote the development of diseases.
Pot Material
Also pay attention to the composition of the pot: plastic and unsealed ceramic pots retain moisture better, whereas those made of terracotta or glazed ceramic are more permeable to water. Adapt your choice according to the specific needs of the plant you want to repot.
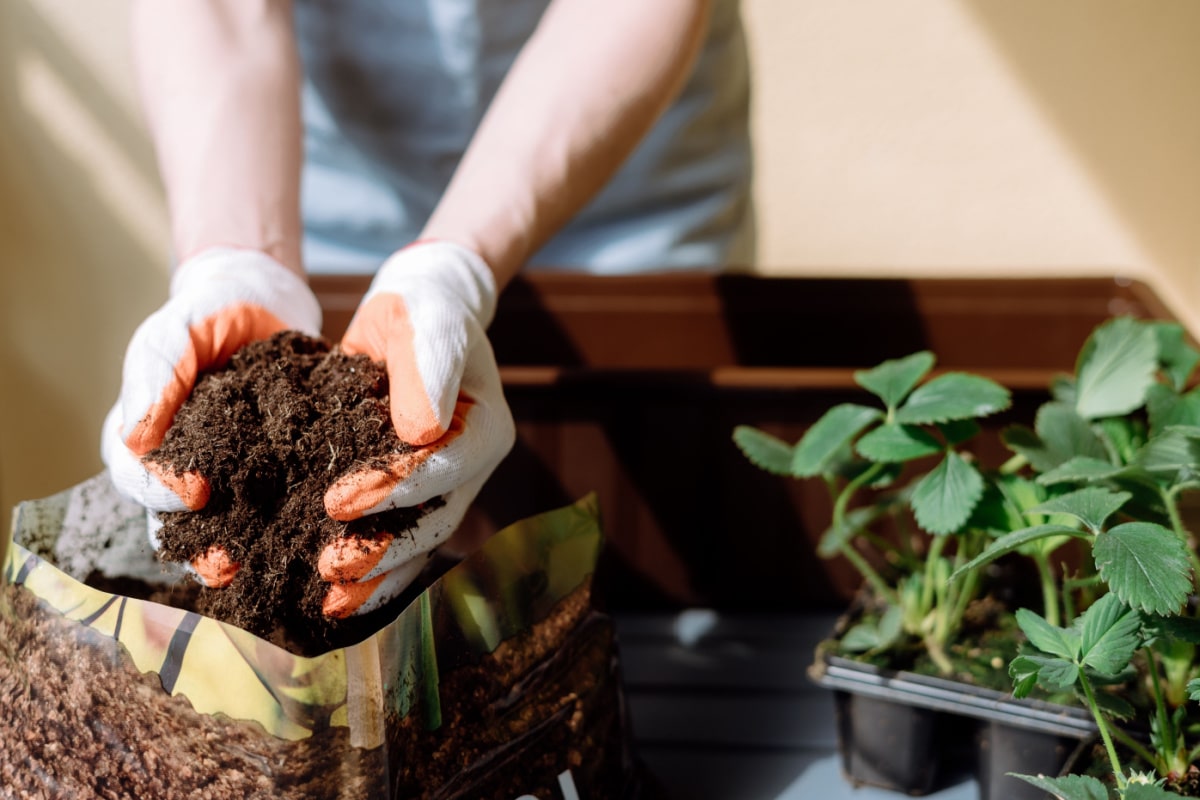
Step 2: Prepare the new potting soil
Spring repotting is also the perfect opportunity to enrich your plant with a quality potting soil. Make sure to choose a mix that suits the specificities of the species you are cultivating, as some plants have specific requirements in terms of pH, texture or fertilization. Do not hesitate to ask for advice from your nurseryman or to consult specialized guides to obtain information on the appropriate soil type.
Also think about including in your mix a proportion of organic material such as compost. It will help improve the structure of the soil, water retention and the supply of nutrients necessary for the growth of your plants.
Step 3: Drainage, a crucial step
To avoid your plant suffering from excess water and developing diseases caused by overly moist roots, do not forget to properly drain the pot before repotting. Place a layer of gravel or clay beads at the bottom of the pot to ensure good water drainage. You can also add a piece of geotextile or non-woven fabric to prevent the potting soil from mixing with the gravel, while allowing the water to drain properly.
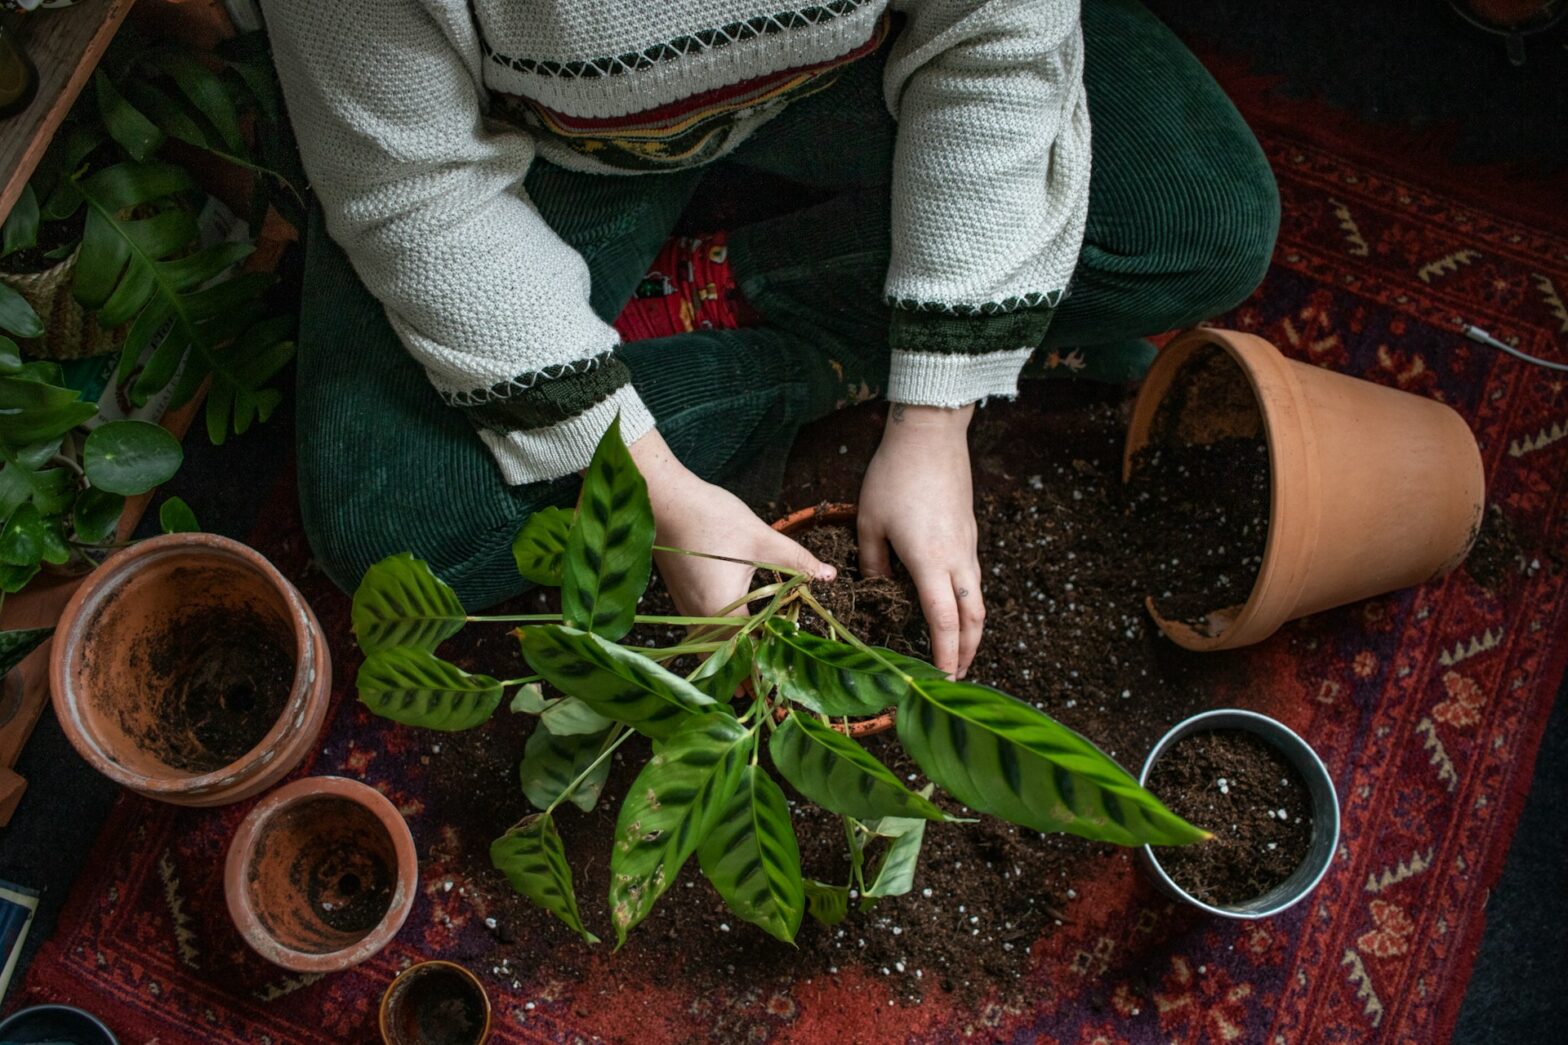
Step 4: Properly repotting the plant
- Carefully untangle the roots if they are tangled or wrapped around the initial pot. This operation improves the penetration of nutrients and water towards the new shoots.
- Place the plant in the center of the new pot, making sure the roots are evenly distributed over the entire surface and they don’t directly touch the sides. This will facilitate their growth through the new soil.
- Fill the empty spaces with the potting soil you prepared earlier and slightly compress the surface to remove air pockets. However, leave enough space between the plant’s collar and the edge of the pot so that watering does not overflow.
- Water the plant moderately to thoroughly mix the compost and ensure good contact between the roots and their new environment. Be sure to check that the water is draining properly through the drainage holes before adding more.
Step 5: Taking care of the plant after repotting
To give your spring repotting operation the best chance of success, do not forget to provide adequate care to the plant after its transplantation. Place it in a bright location, but without direct sun for a few days, as it could suffer from stress caused by a sudden change in exposure. Then, resume its regular watering gradually and carry out preventive treatment if necessary to protect against diseases or parasites.
Now that you have mastered the essential mechanisms of spring repotting, don’t hesitate to provide your plants with an optimal growth space that will allow them to be in top shape to face the summer period!