
Building a garden hut for children is a rewarding and fun activity that offers little ones a fantastic play area while allowing adults to learn some DIY skills. Here’s a detailed guide to help you carry out this project, covering the construction steps and the necessary materials.
Planning and Preparation
Choice of location
Before starting construction, it’s crucial to choose the right location for your garden shed. Here are some points to consider:
- Stability and ground level: Choose a flat and stable location to avoid any sagging.
- Safety: Make sure the location is far from trees or branches that could fall.
- Accessibility : The location should be easily accessible for children while being visible from the house.
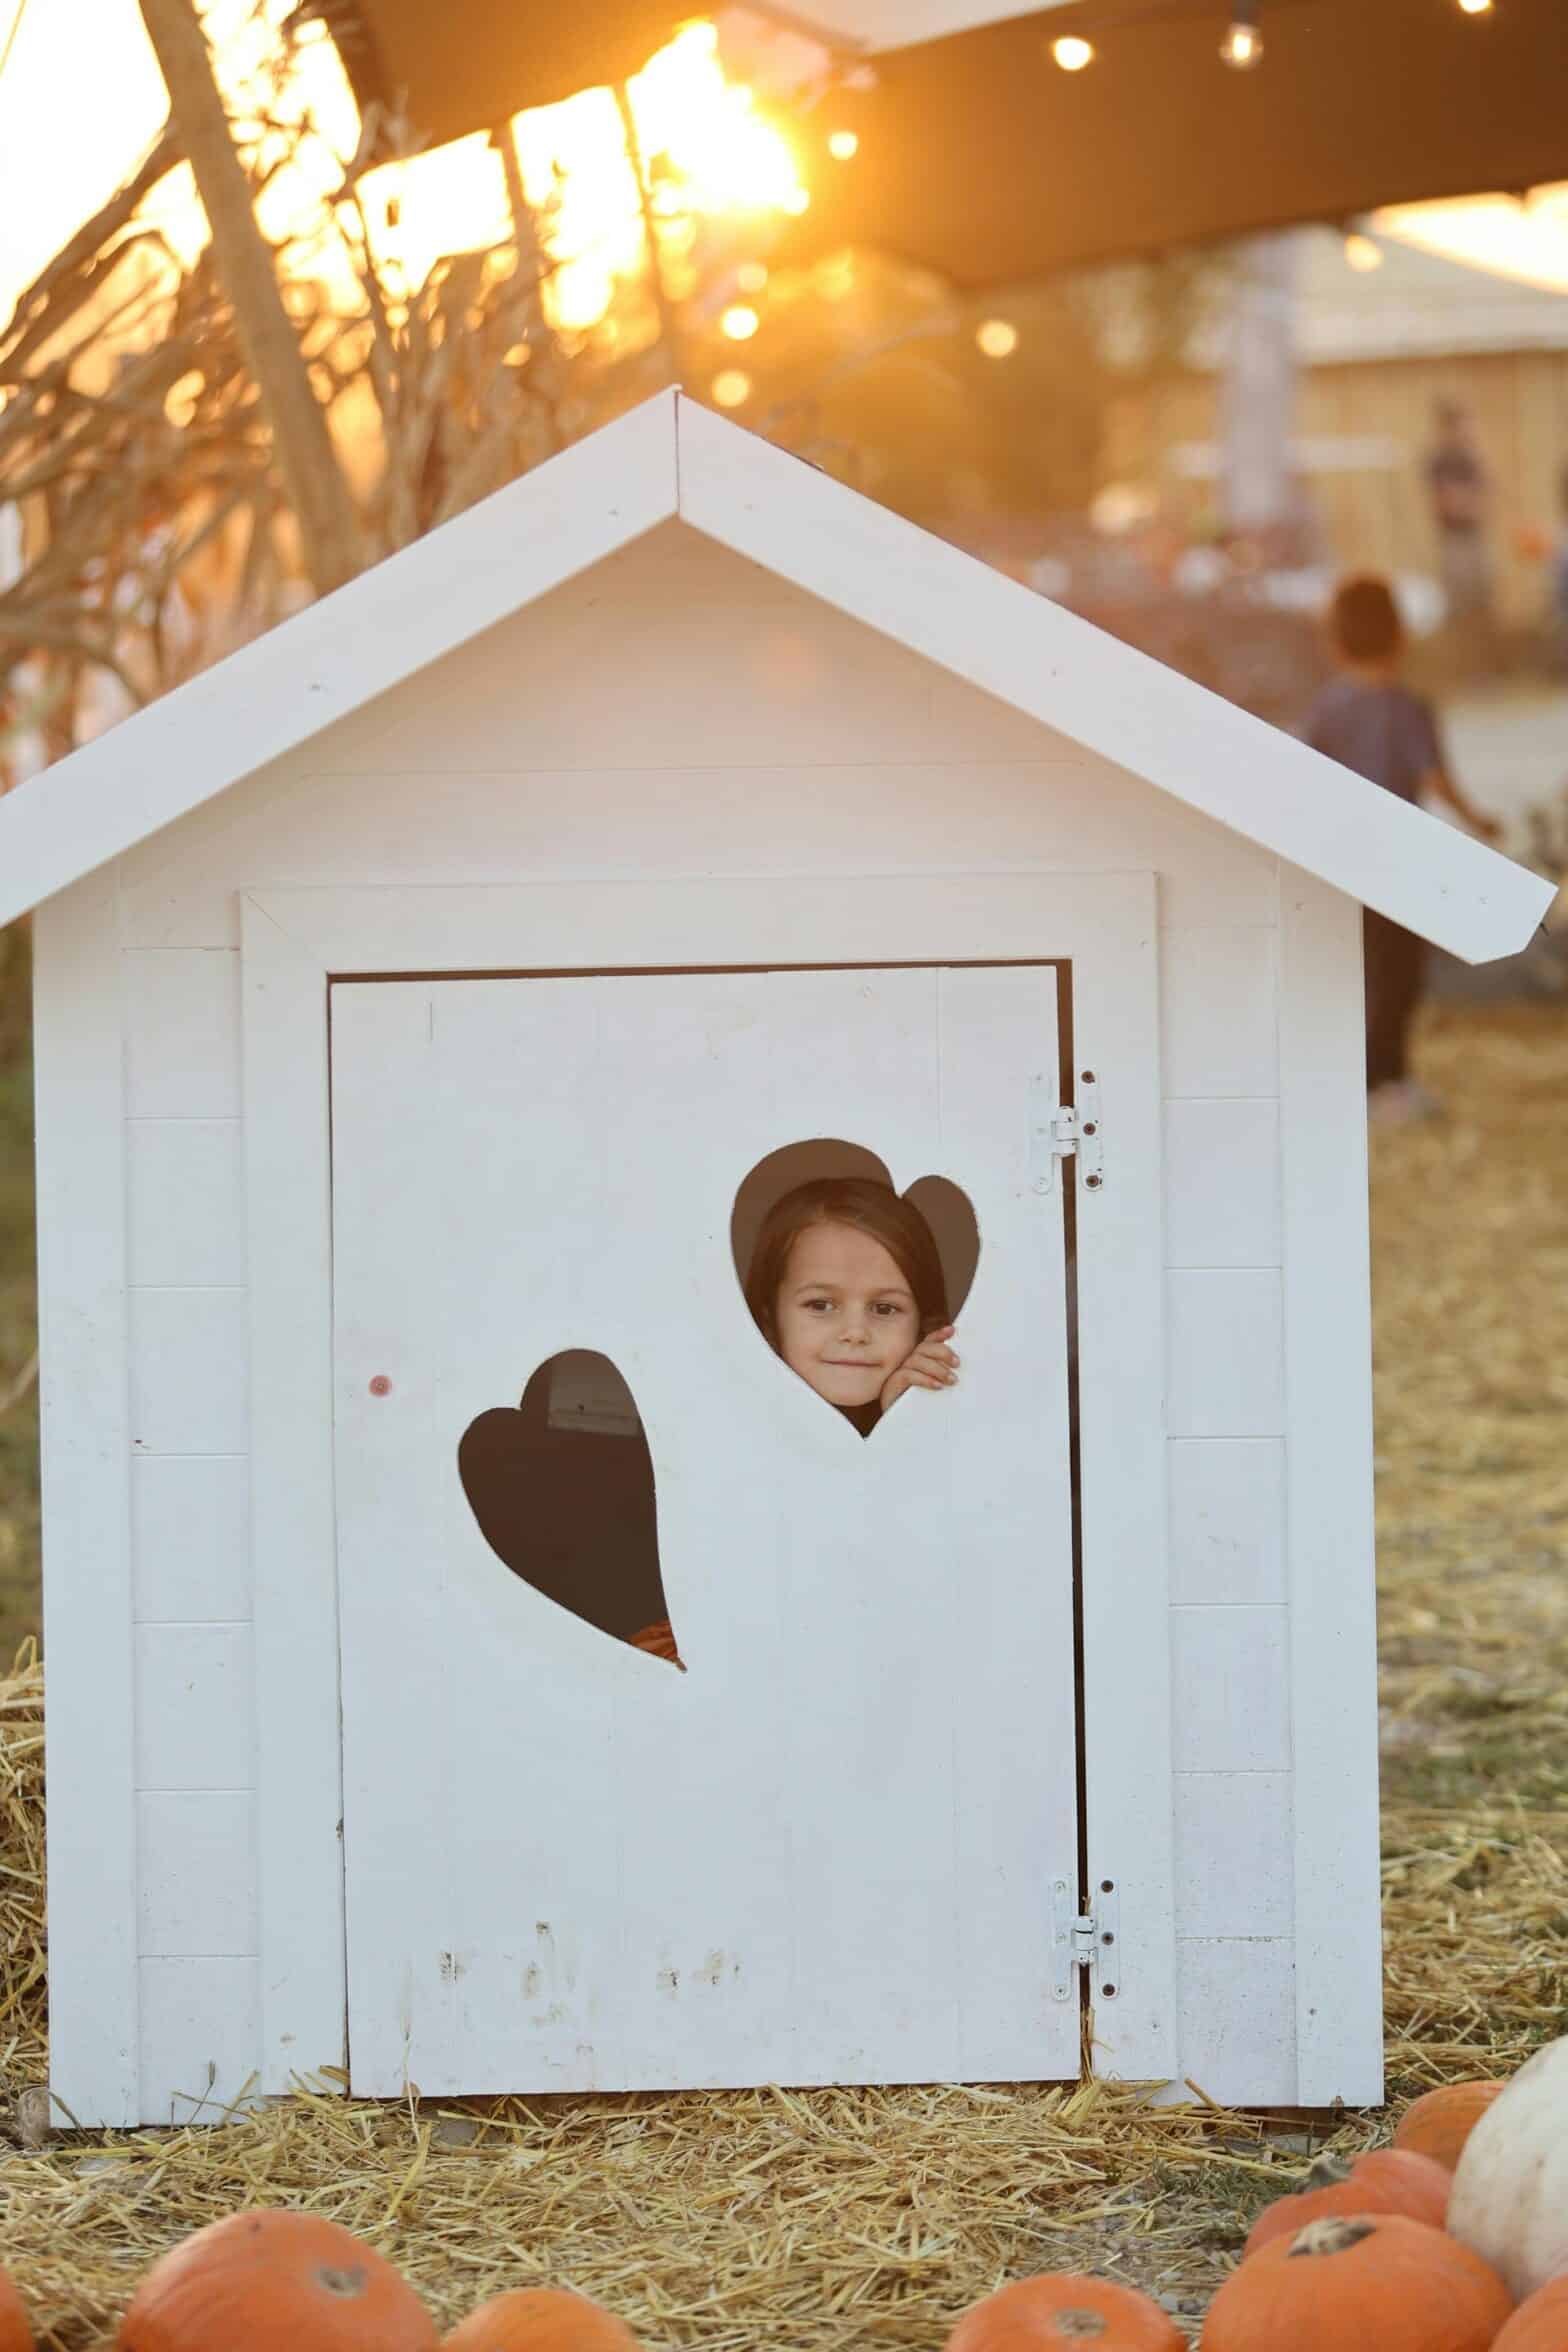
Design and dimensions
The design of the cabin will depend on several factors, including:
- The age of the children: Adapt the size and features to the age and needs of your children.
- Available space : Measure the space in your garden to determine the maximum dimensions of the hut.
- Desired features: Decide if you want to include elements such as windows, a door, a porch, or even a slide.
Permissions and Regulations
Before starting construction, inform yourself about local regulations regarding temporary structures in your garden. Some municipalities may require permits for constructions over a certain height or area.

Required Materials
Wood
The wood is the main material for building a garden shed. Here are the types of wood to consider:
- Beams and boards : Used for the basic structure, walls, and roof.
- Plywood : Perfect for walls and the roof.
- Decking boards: Used for flooring.
Fittings and Hardware
To assemble the different parts of the cabin, you will need:
- Screws and nails : Choose galvanized screws to avoid rust.
[bzkshopping keyword=”screws and nails”]
- Hinges: For doors and windows.
[bzkshopping keyword=”hinges”]
- Brackets: To reinforce corners and joints.
[bzkshopping keyword=”brackets work”]
Coatings and finishes
To protect and beautify your cabin, consider the following materials:
- Paint or varnish: Protects the wood from the weather and adds an aesthetic touch.
[bzkshopping keyword=”wood varnish”]
- Bituminous felt or tiles: Ensure the roof is waterproof.
[bzkshopping keyword=”bitumen felt”]
Other Materials
- Sand or gravel: Used for foundation and drainage.
[bzkshopping keyword=”gravel”]
- Insulating Foam: For windows, to ensure good insulation.
[bzkshopping keyword=”insulating window foam”]
Construction Steps
1. Preparation
First and foremost, clean and level the ground in the chosen location for the hut. If necessary, dig a shallow foundation and fill it with gravel to ensure a stable and well-drained base.
2. Construction of the Base
The base of the hut must be solid to support the entire structure. Here’s how to proceed:
- Basic frame : Assemble a wooden frame from sturdy beams. Use brackets to ensure the strength of the corners.
- Ground anchoring: Securely anchor the frame to the ground to prevent any movement.
3. Erection of the structure
The walls of the hut must be built carefully to ensure the stability and safety of the structure:
- Vertical studs: Attach vertical studs to the corners of the base and add horizontal beams at the top to form the frame of the walls.
- Reinforcement: Use brackets and nails to reinforce the joints and corners.
4. Installation of walls and roof
Once the framework of the structure is in place, it’s time to close up the walls and install the roof:
- Walls: Attach plywood panels to the studs to create the walls. Remember to leave openings for the doors and windows.
- Roof: Install angled beams for the roof, then attach plywood panels on top. Add a waterproof covering such as bituminous felt or tiles.

5. Adding windows and doors
Windows and doors add both functionality and aesthetics to the cabin:
- Windows: Install window frames and attach them to the walls. Use insulating foam to ensure good sealing.
- Doors: Secure the door using sturdy hinges. Make sure it opens and closes easily.

6. Finishing and painting
The final steps involve protecting and enhancing your cabin:
- Paint or varnish: Apply a coat of paint or varnish to protect the wood from the weather and add a touch of color.
- Decorations: Add decorative elements such as curtains, planters or signage to personalize the cabin.
[bzkshopping keyword=”child hut decoration”]
Building a garden hut for children is an ambitious but rewarding endeavor. By following these steps and using the appropriate materials, you can create a safe and fun play area for your kids. This project also allows for quality family time and the development of DIY skills. So don’t wait any longer and embark on this exciting adventure!