

The month of March is ideal for transplanting young plants into your garden. Temperatures begin to rise and the days get longer, providing more favorable conditions for plant growth. In this article, we provide a step-by-step guide to successfully carry out this operation and ensure a beautiful productive garden.
Choosing the Right Plant Varieties
Before performing the transplantation, it is appropriate to choose the right plant varieties adapted to your region and your needs. Several vegetables are particularly well adapted to planting in March, including:
Do not hesitate to ask for advice from your nurseryman to determine the other plants that will also thrive when transplanted at this time of the year.
Prepare the Ground
A good soil preparation is essential to ensure a successful transplantation. Here are the steps to follow to have a well-prepared ground:
Clean the area
First, eliminate the weeds, stones and debris that could hinder the growth of young plants. Once your garden is clean, then loosen the soil by turning it over with a fork or a tiller.
[bzkshopping keyword=”motoculteur”]
Amend and Fertilize the Soil
To promote the growth of plants, it is crucial to enrich the soil with organic amendments. Check the composition of your soil to identify any potential deficiencies and add compost, manure, or a biological fertilizer according to its needs.
Mulch if necessary
In some regions where spring can still be chilly, mulching can contribute to maintaining heat at the root level of the plants. Add a thin layer of straw, bark or dead leaves to protect your young plants from the cold.

Perform the Transplantation
Follow these simple steps to transplant your young plants into your garden:
Digging Suitable Holes
Depending on the size of the plants and their root system, dig holes in the prepared ground. The space between each hole will also depend on the variety of plants chosen. Be sure to respect the distances recommended by the nurseryman or mentioned on the plant label.
Remove the plants from the containers
Gently remove the young plants from their pots or containers, taking care not to damage the roots. If the roots are too tangled, loosen them slightly with your fingers.
Transplanting the young plants into the garden
Place each plant in a previously dug hole, making sure the roots are well oriented downwards. Then cover the roots with soil and lightly compact to eliminate air pockets.
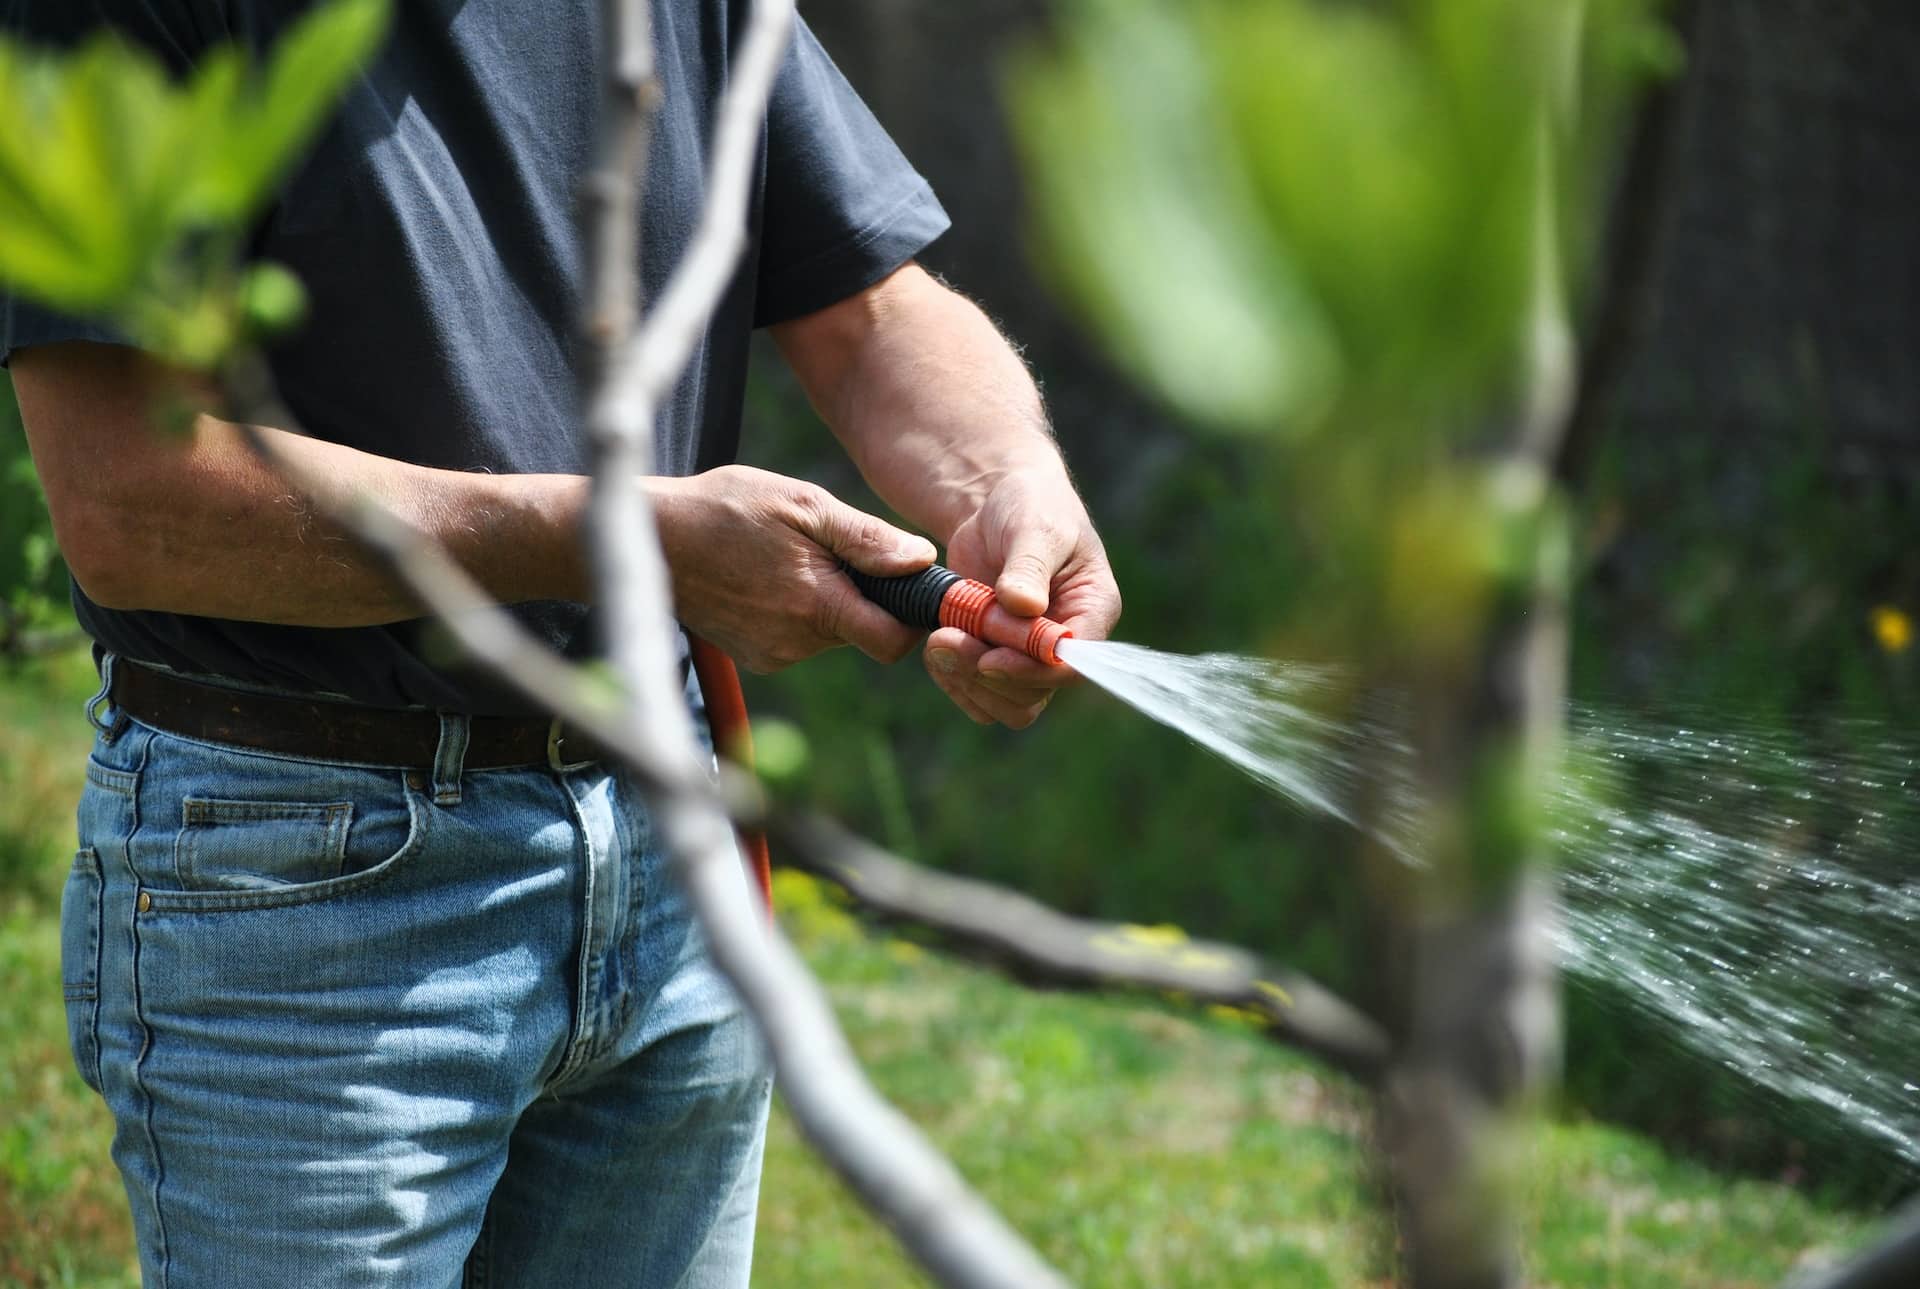
Water the young plants
The watering is a crucial step after transplantation to allow the roots to firmly establish in the ground. Pour water gently around the base of each plant until the soil is well moistened.
Maintenance of young plants
To ensure good growth, regularly monitor your transplanted young plants:
- Check the soil moisture and water if necessary.
- Monitor the presence of pests and address issues as soon as they appear.
- Bring additional organic fertilizers according to the needs of your plants.
Also remember to monitor the weather and take necessary measures to protect your young plants in case of frost or heavy rain.
Good Practices for a Successful Harvest
Follow these few tips to maximize your chances of success:
Crop Rotation
Alternate the locations of your plants from one year to the next to prevent soil depletion and the spread of diseases.
Mulching
Mulching helps to keep the soil moist, reduce weeds, and protect the roots of your plants from temperature variations.
The size and thinning
To ensure optimal growth of your young plants, make sure to prune them regularly and thin out too tight sowing. This will ensure good air circulation between plants and promote their development.
By following these tips and this step-by-step approach, you should be able to successfully transplant your young seedlings in March and thus enjoy a bountiful and productive garden throughout the season.